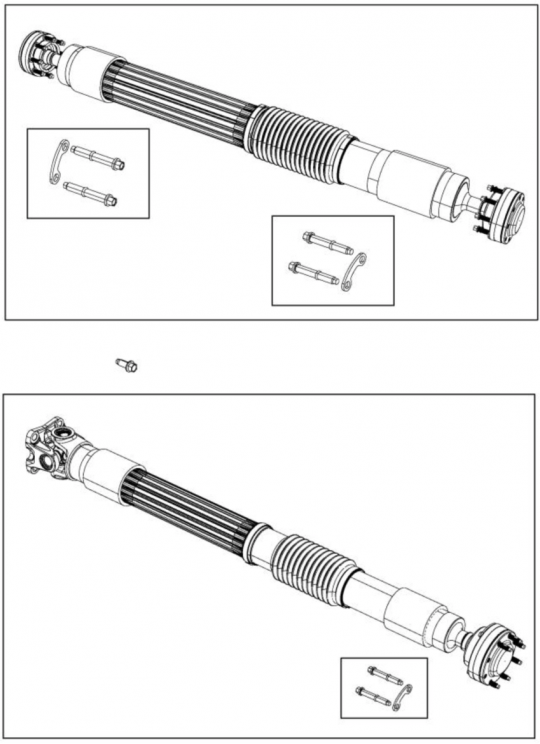
Remove the Front and Rear Drive Shaft
Before removing the drive shafts, ensure that the vehicle is secured so it does not roll once the driveshafts are removed. The driveshafts are secured with a Torx style bolt but come off pretty easily.
Removing the Gas Tank
Modifications to the fuel sending unit are required to support the additional fuel requirements of the new engine.
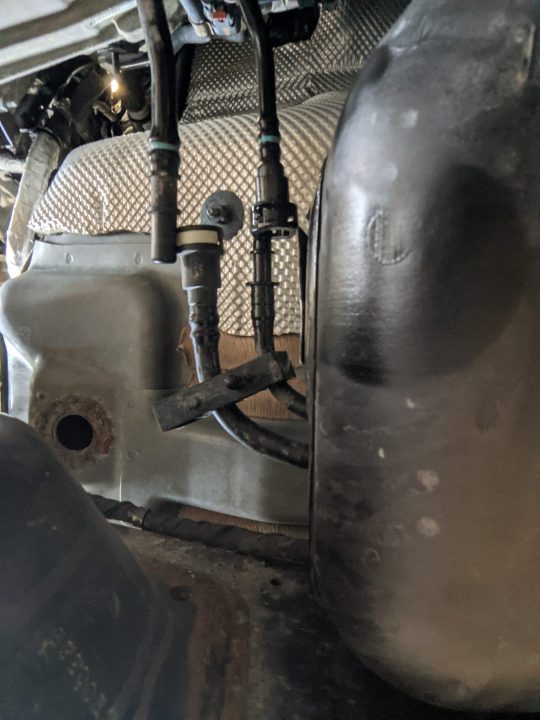
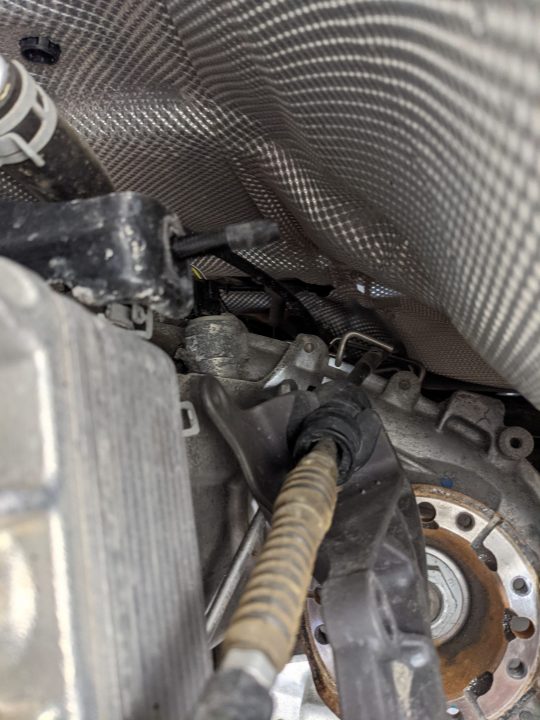
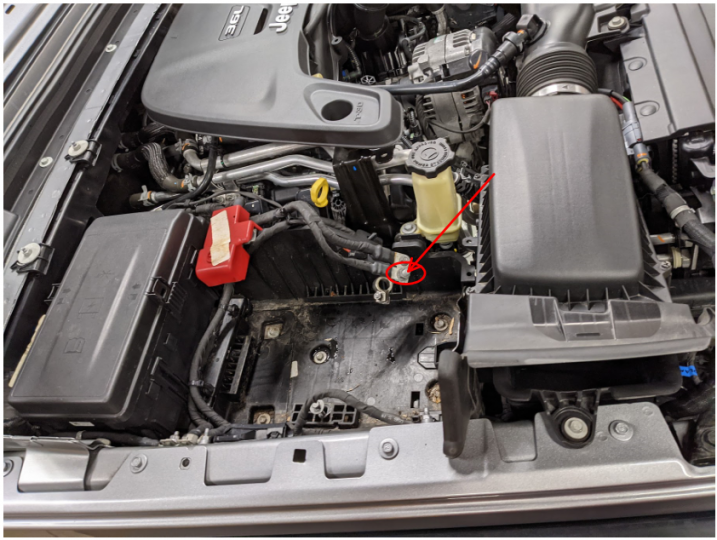
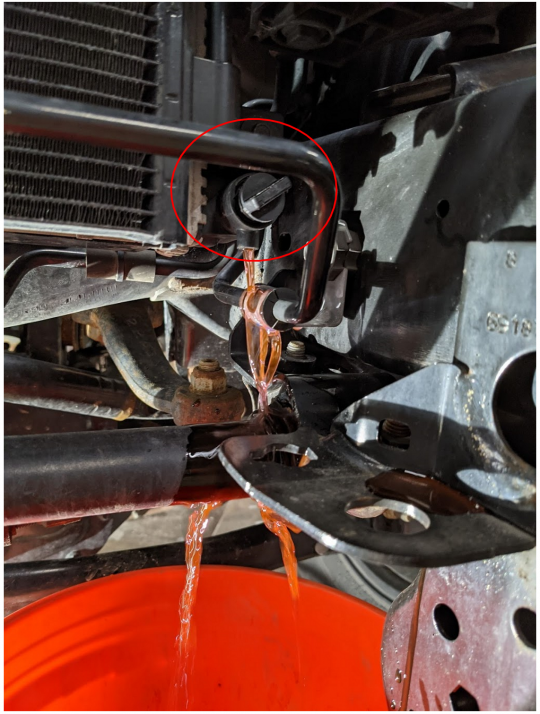
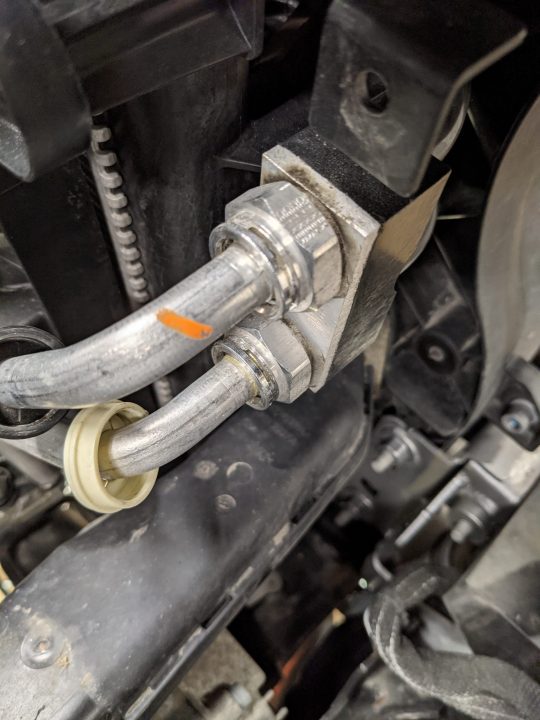
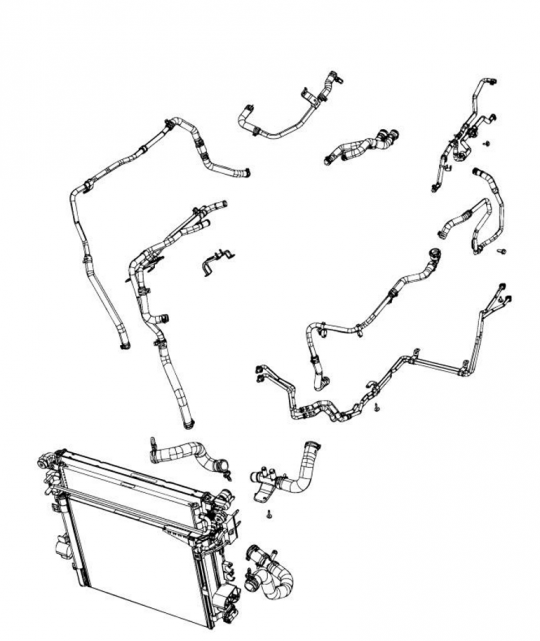
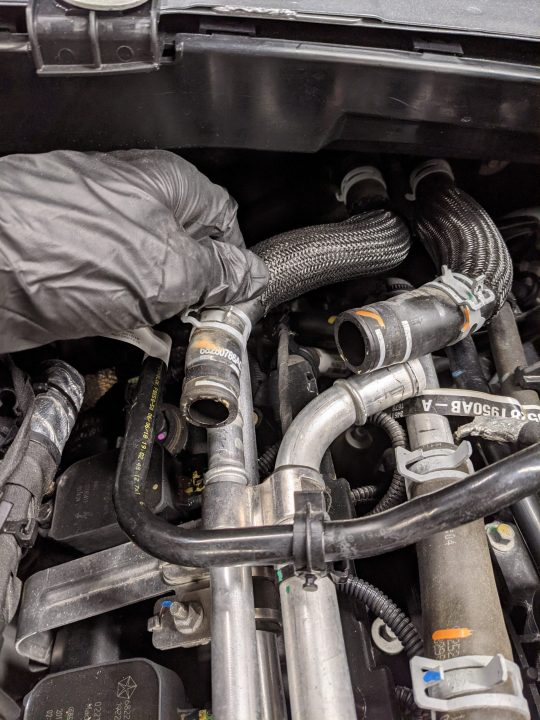
We started by removing the fuel lines from the engine by disconnecting them from under the passenger footwell and drained the fuel into a fuel safe container.
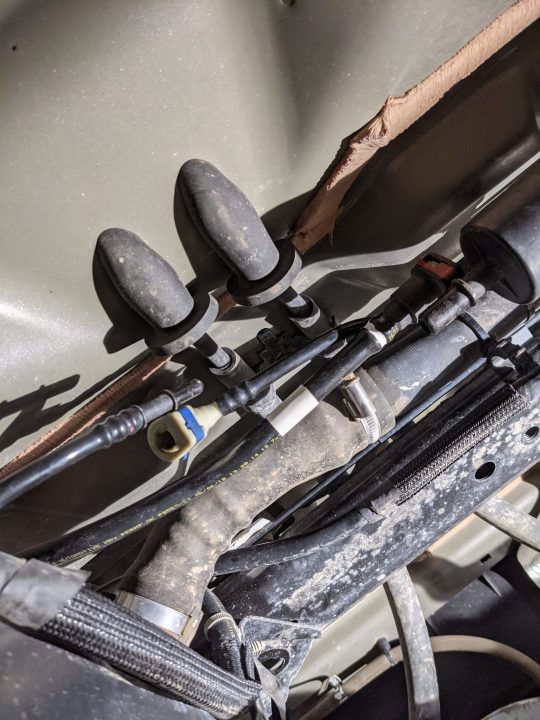
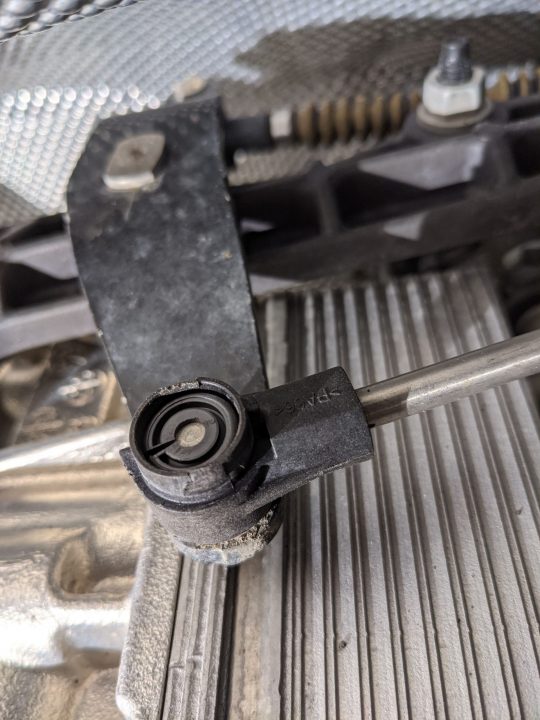
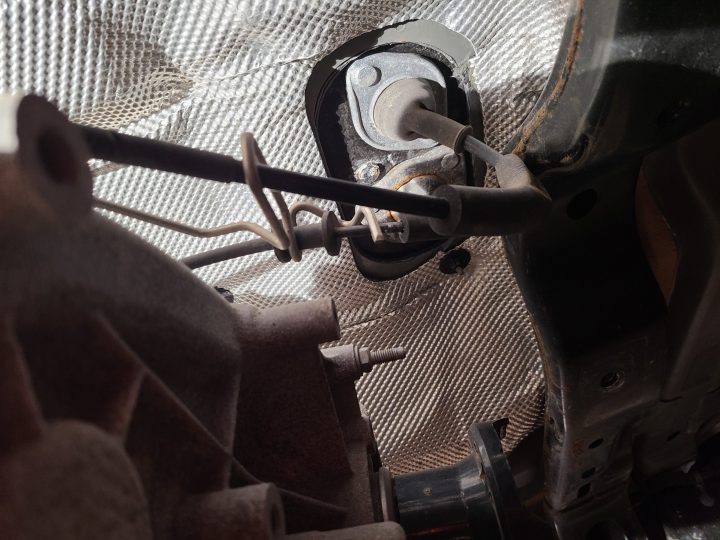
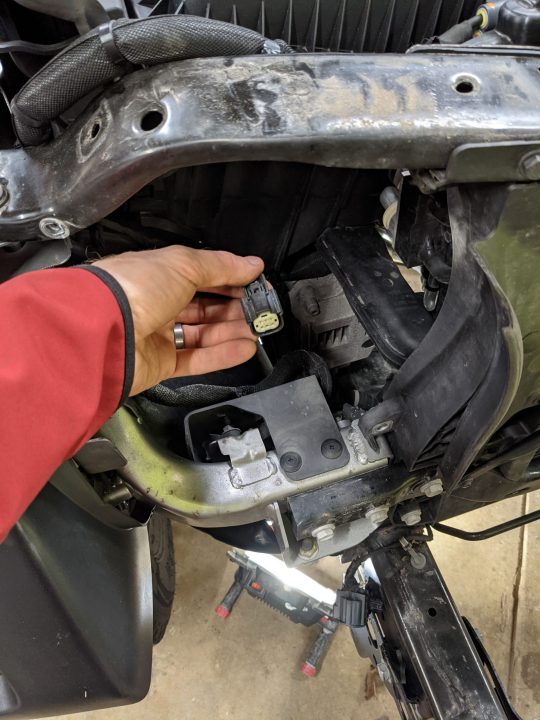
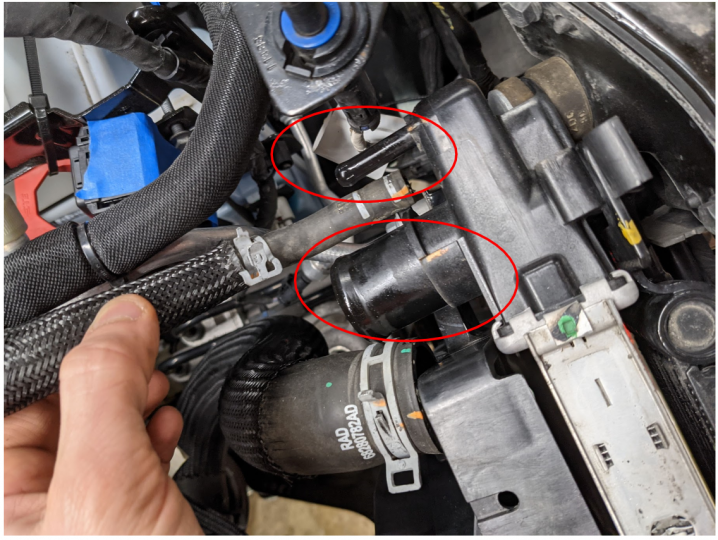
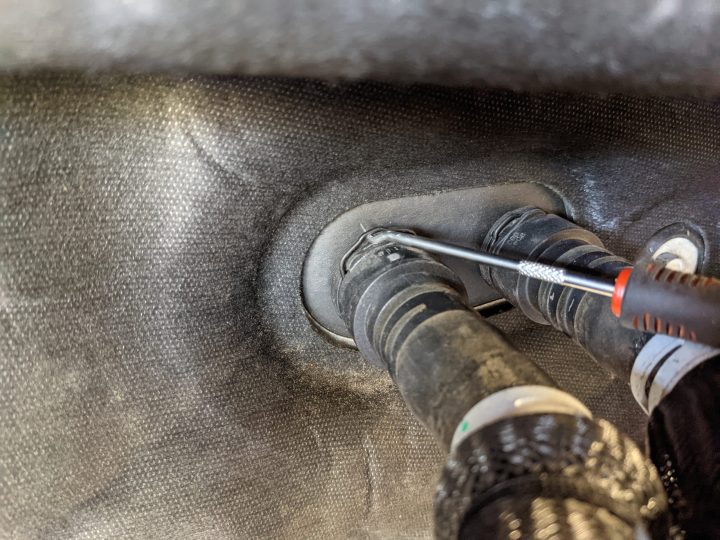
Then we unplugged the fuel evap system quick disconnect lines and fuel filler clamp at the rear of the tank. (note the fuel filler line is not disconnected in the image below)
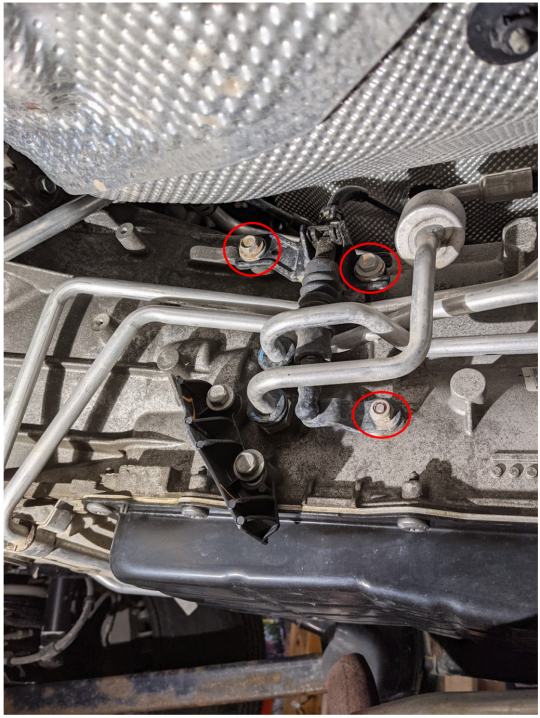
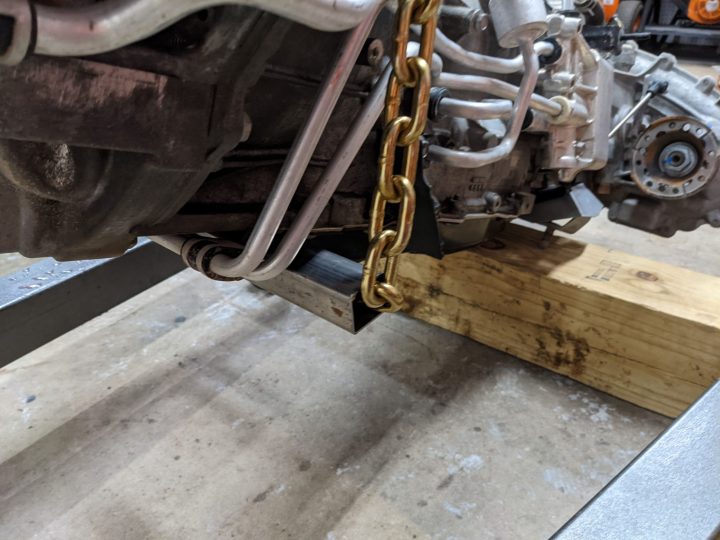
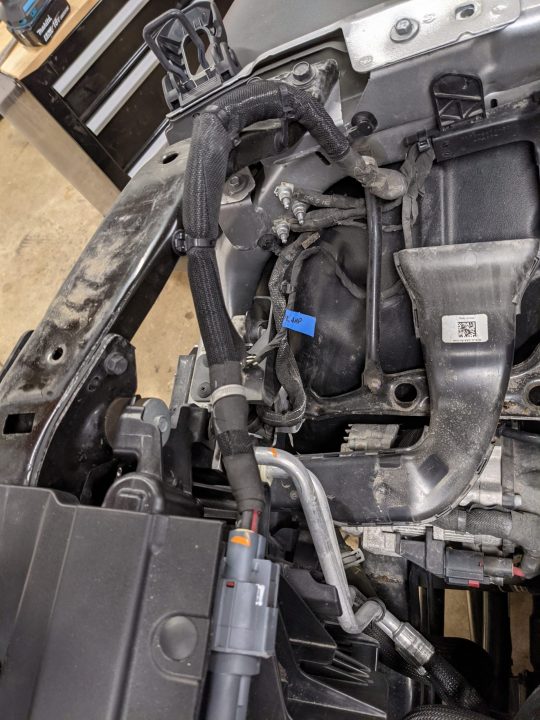
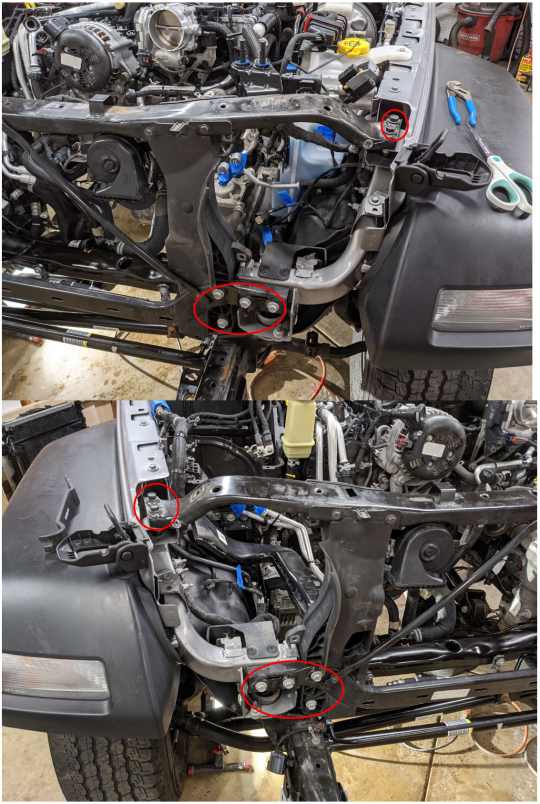
Using a floor jack, we supported the fuel skid and removed all seven bolts holding the skid in place. Note: there is one bolt that is longer than the others, take note as to where this one came from for re-installation. This also required removing the transmission crossmember, so we supported the transmission and transfer case with jack stands.
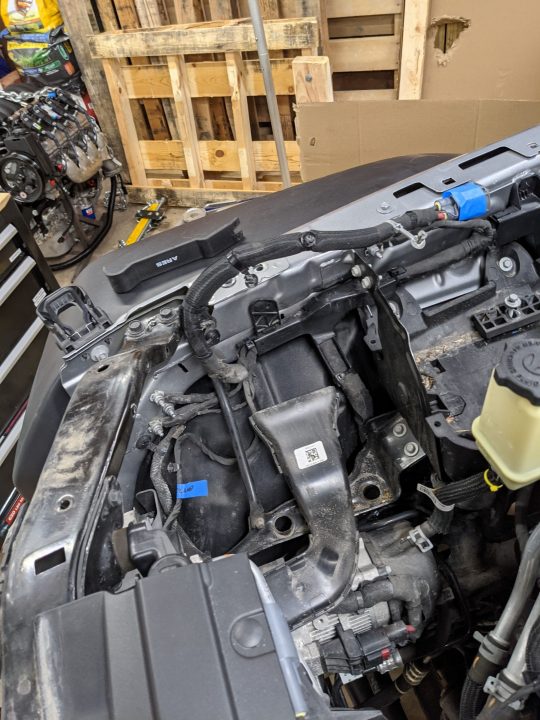
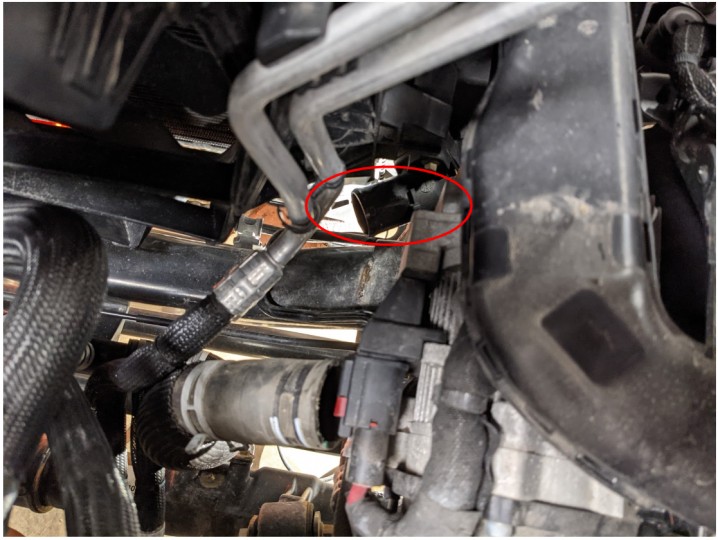
We then started dropping the tank and disconnected the appropriate lines atop the tank that became accessible once the tank was lowered a few inches.
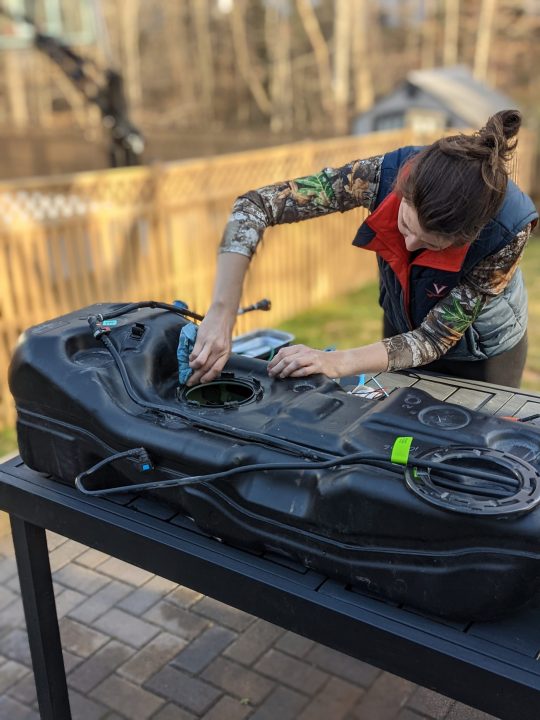
Once the tank was fully removed, we used a vacuum, compressed air, and a hose to clean-up the dirt and debris that had accumulated atop the fuel tank. This ensured that when we removed the fuel sending unit we would not contaminate the fuel tank.
Using a flat head punch we removed the retaining ring holding the fuel sending unit by tapping it counter clockwise around the entire ring to get it to come off. We then removed the sending unit and cleaned up the gasket mating surfaces.
To remove the sending unit from the tank we slowly lifted the sending unit while removing the quick disconnect hoses within the tank . The sending unit has a fuel gauge float attached to it so we had to make sure not to damage that during removal. There is a third quick disconnect that you have to also remove that is only accessible after the majority of the unit is removed from the tank.
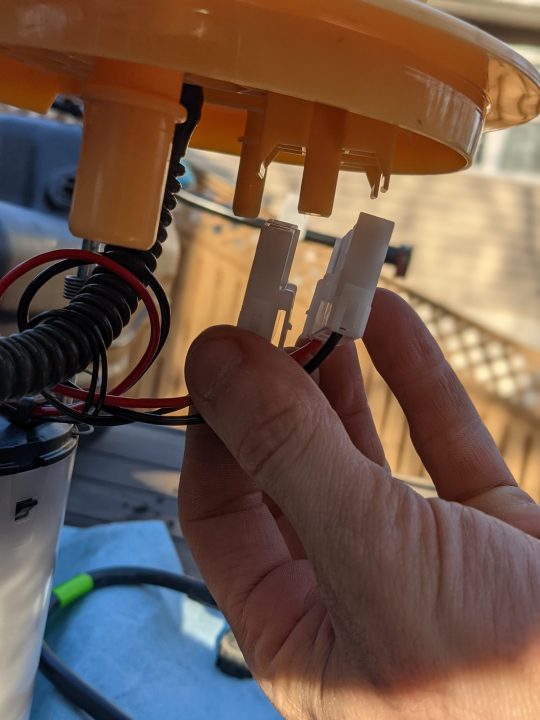
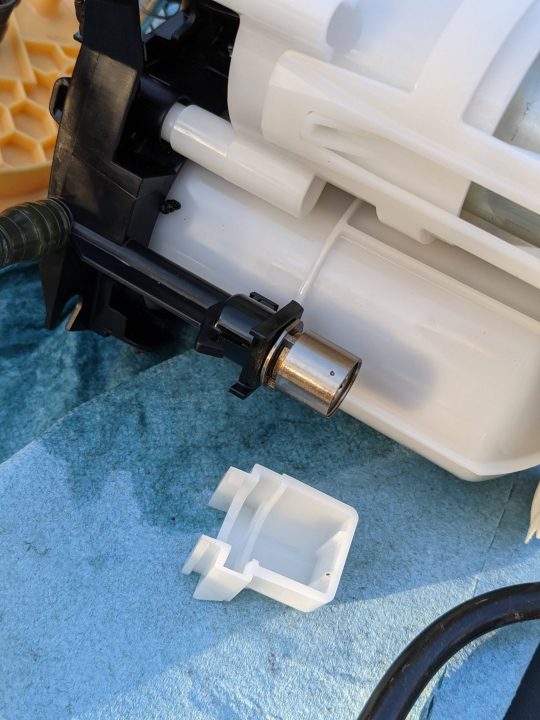
We then had to disassemble the fuel sending unit by disconnecting two electrical connections, and a "c" retaining clip, and then use a screw driver to carefully separate the bucket from the rest of the sending unit.
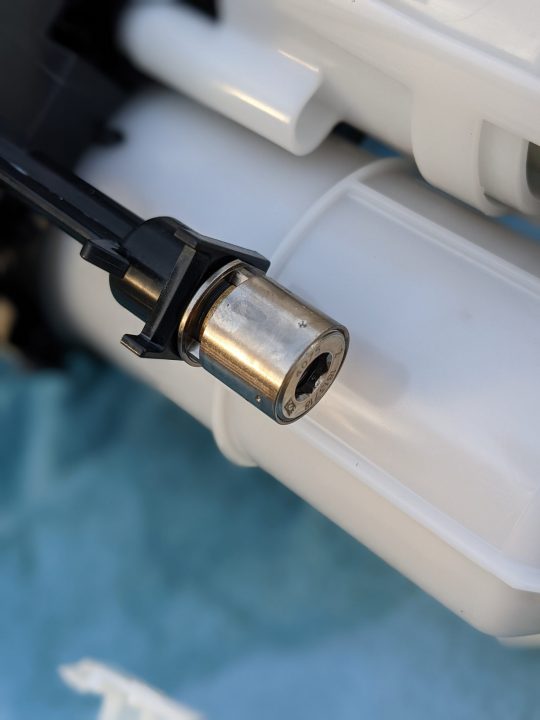
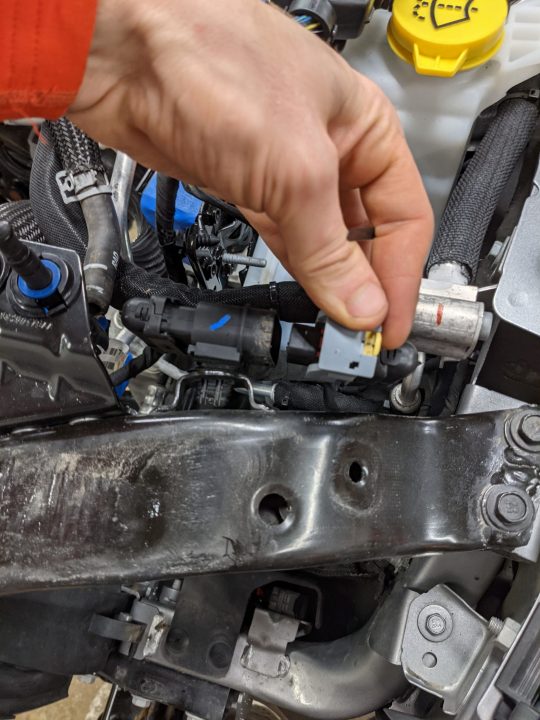
We then removed a white plastic cover which covered the fuel pressure regulator. Then using a 6mm allen key and a pair of pliers, we backed out the regulator screw until it was flush with the bottom of the outer barrel. This sets the fuel pressure correctly for the new engine.
We then reassembled everything, making sure to reconnect all the electrical and quick disconnect fittings, and cleaning the green fuel tank O-ring to ensure a tight seal.
")
 congrats

")